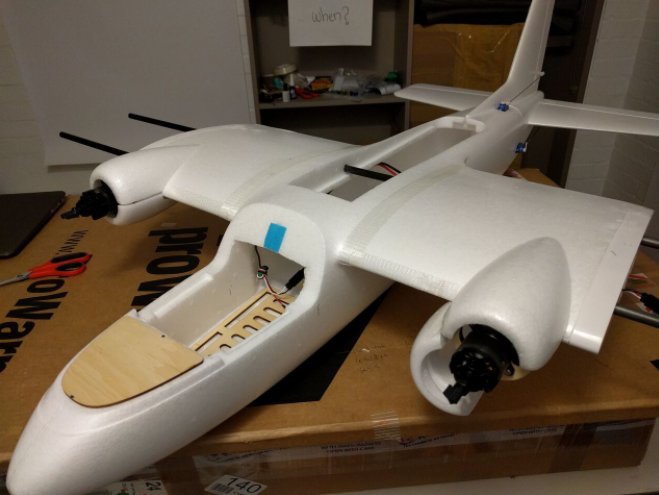
I’ve started work on building the full-sized MyTwinDream that I received last week. This plane is HUGE and I can easily see how it can carry several kilograms of payload for delivery, in addition to the loads of batteries it’ll need to go long range.
Since I no longer have the Pixhawk, I’ll be using a Pixracer (a newer, smaller version of the original Pixhawk). I’ll also be using a custom battery pack made from the LiIon cells I’d developed previously (but were too heavy to include in the smaller AXN).
Update (March 17):
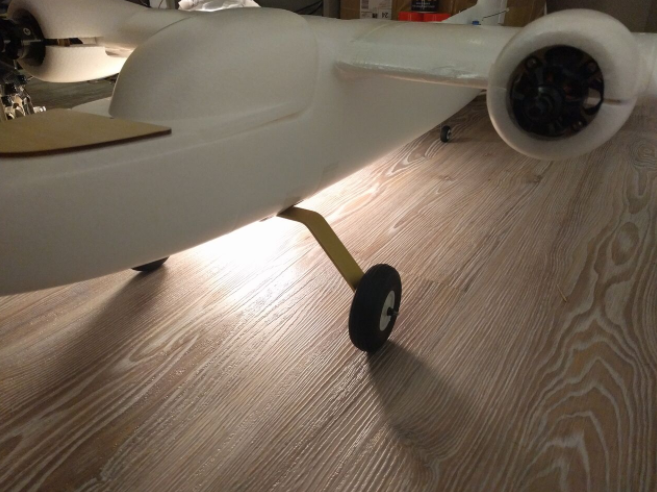
It’s worth noting that this is a fairly large plane — definitely the largest I’ve built to date. I’ve also got huge 11 inch propellers installed on the dual motors, so we’re talking about huge amounts of thrust!
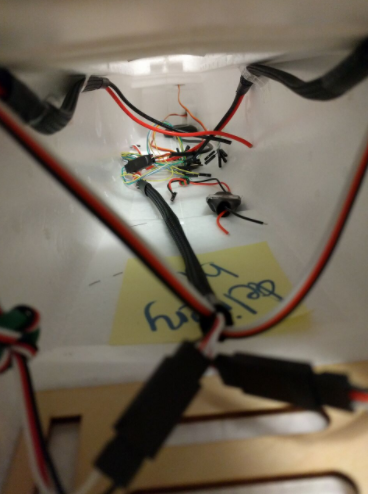
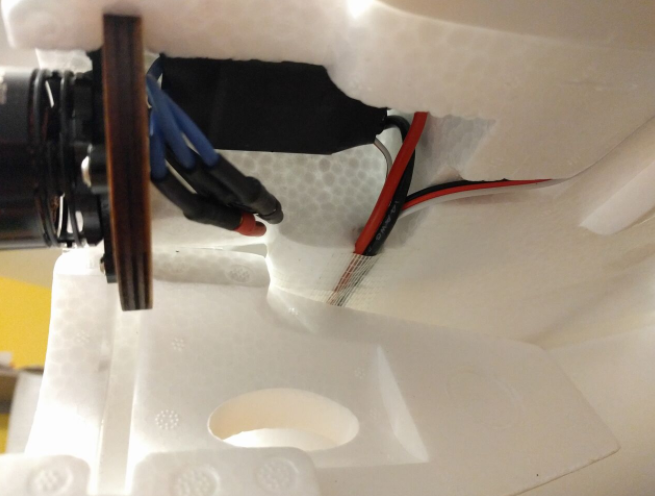
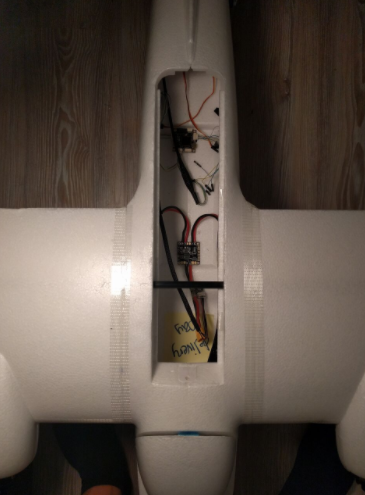
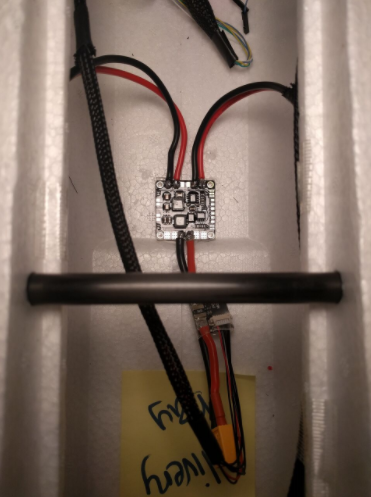
Here are some progress pics:
I also finally received the other 40A ESC I was waiting for (I only had one), so now I can test the whole plane.
I’ll be working on the Lithium Ion battery pack once I receive the copper rod I’ve ordered in order to make my own spot welder. I tried to find one in the nearby university, but they didn’t have one (strange!).
Update (March 20):
Today, I went ahead and calibrated all of the RC channels. I also centered all of the servos and got them setup properly. I attempted to connect the analog airspeed sensor that I had previously used on the Pixhawk (by connecting it to the ADC port). The Pixracer does not support the Analog airspeed sensor, so I ordered a digital one instead.
Other than that, I’m currently waiting on the Power Distribution Board with a built-in BEC that can output both 5V and 12V (I’ll need the 12V for the LED strips on the planes wings so I can see it in the dark).
I was hopeful I’ll be able to get a used car battery so I can do the spot welding of the Lithium Ion battery pack, but I tried a few nearby places and turned out short. I’m now searching for alternative high current sources (600A+). If all else fails, I’ll just solder the battery terminals directly (though I risk damaging the cells that way).
Update (March 22):
Today I received the Power Distribution Module (with the built-in 5V/12V BEC) — that means I’m all set to get the plane ready for its maiden flight!
Here’s a run down of the things I’ve done today:
All that remains now is to connect the camera & on-screen display up — and put together the Li-Ion battery pack (this is going to be a massive 23,000mAh 4S pack that weighs over 1kg). Should keep it in the air for several hours.
Update (March 23 & 24)
Today I:
I was not able to get the servo outputs of the Pixracer to work. I opened several support requests but to no avail. Looks like I just got a faulty Pixracer. The issue is that the servo outputs are supposed to reflect the RC inputs when the vehicle is ARMed and set to MANUAL mode. They don’t. Even the MAVlink messages show the purported servo outputs correctly, but I just get 0 on the outputs. I hooked up an Arduino to Channel 1 of the servo outputs to verify, and confirmed the 0 reading.
Expected servo output:
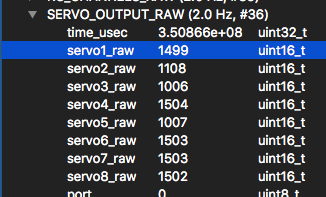
Actual servo output:
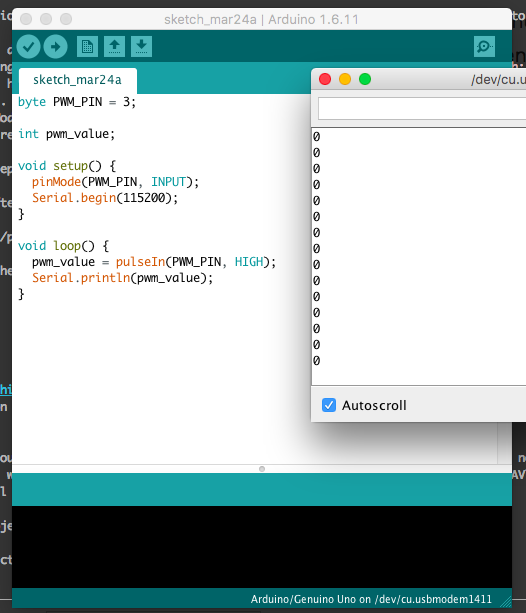
A whole lotta nothingness! Of course, without servo outputs the plane can’t fly. That means I’ll have to get the Pixracer replaced (and God knows how long that’s going to take to happen). In the mean time, I’m going to have to fallback to whatever flight controller I have handy — which means the APM2.8. It’s my last hope. Will have to replace all of the Pixracer connectors with the APM connectors and try again 😫
Update (19 Apr): I’ve been spending the past 2 weeks preparing for technical interviews at various companies. I’ll have a more in-depth post on this in the near future, but for now I’ve had little time for anything else. I plan on resuming this project in the first week of May.