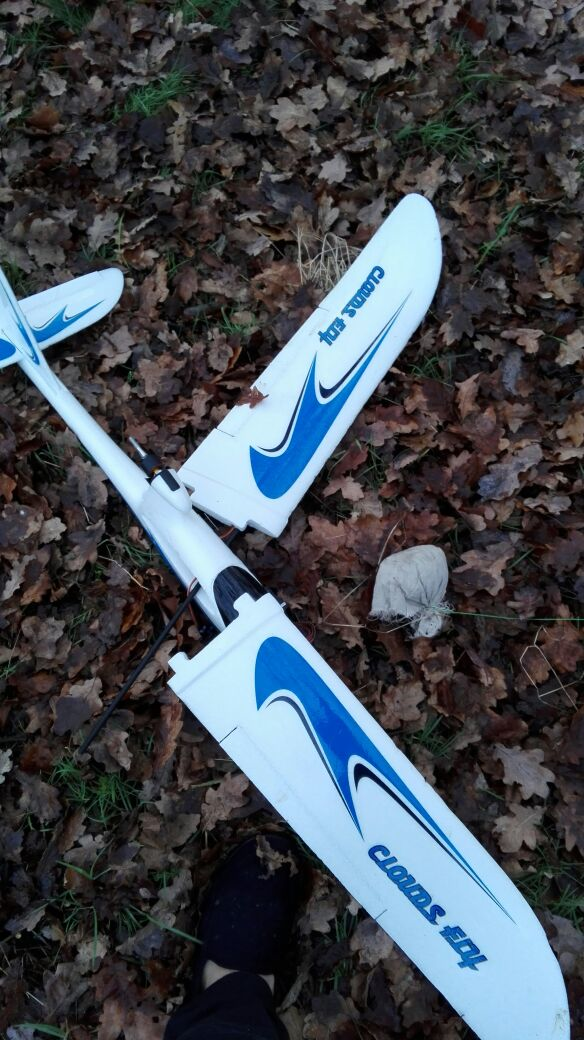
After the first failed attempt, I was able to retrieve the plane from the tree (using a rope and a bag of sand to pull the branch down):

The plane body was mostly in tact, so I’ll be using the same frame. I’ll be making the changes we discussed after the last attempt, namely:
Also, some minor things to remember to do (based on the state of the retrieved plane):
Onwards…
I’m creating a custom battery pack with a higher energy density than the Lithium Polymer batteries I previously used. This battery pack would pack more punch, at a lower weight (almost half). Take a look:
| LiPoly battery | |
|---|---|
| Capacity | 2.2Ah * 3S = 2.2Ah * 3 * 3.7 = 24.42 Wh |
| Weight | 190 g |
| Energy Density | Capacity / Weight = 128 Wh/kg |
| LiIon | |
|---|---|
| Capacity | 3.4 Ah * 3S = 3.4Ah * 3 * 3.7 = 37.74 Wh |
| Weight | 138 g |
| Energy Density | 273 Wh/kg |
There you go … our LiIon pack has 2.13X more energy density than the previous LiPo pack! The only downside to consider is that the discharge rating for LiIon is only ~2C (vs. ~30C for LiPo). This basically puts a limit on how fast you can discharge the cell, but if you wire these cells in parallel you can get more than enough current output for a simple glider.
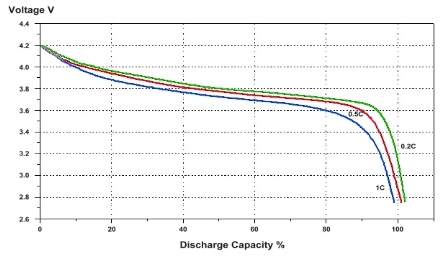
I used 3.7V in both cases, but that’s only true in average. Lipo batteries typically have a range from 3.2V - 4.2V / cell, with the average being 3.7V. Li-Ion batteries operate in a more stable 3.7V and then degrades quickly after that. You can see the Li-Ion discharge curve below:
For this example, I’ll be using just one cell, so I’ll need to monitor the power output and replace the cell with the LiPo if it’s insufficient.
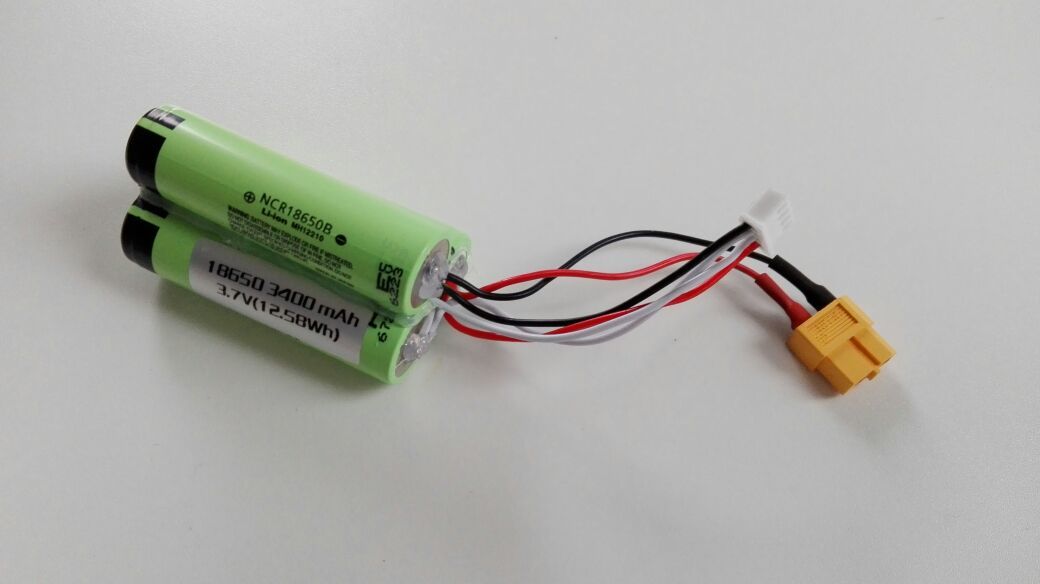
I’ve gone ahead and built the cell, include an XT-60 connector and a balance connector for charging:
I then did a power draw comparison between LiPo:
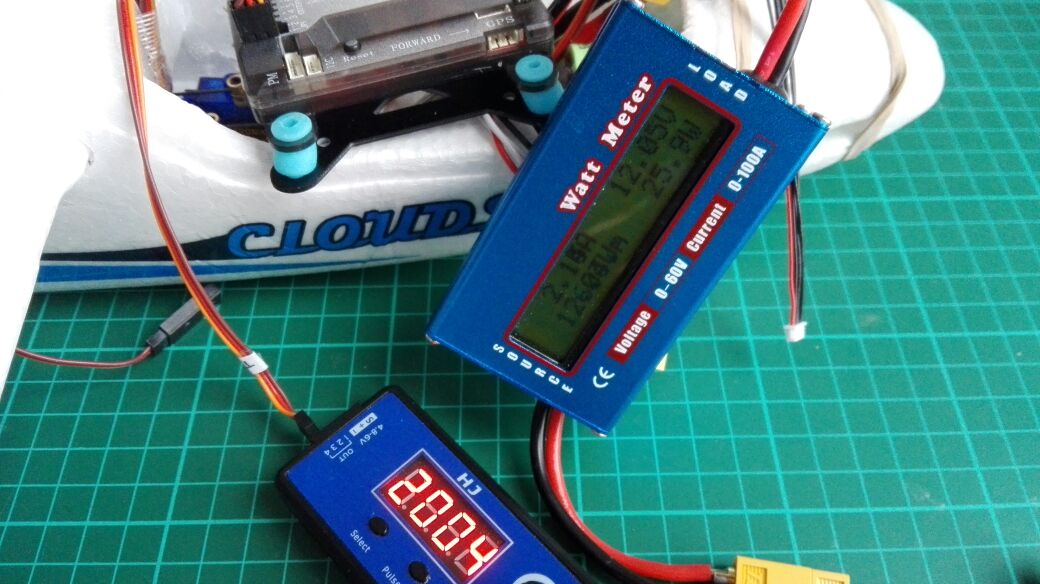
… and Li Ion:
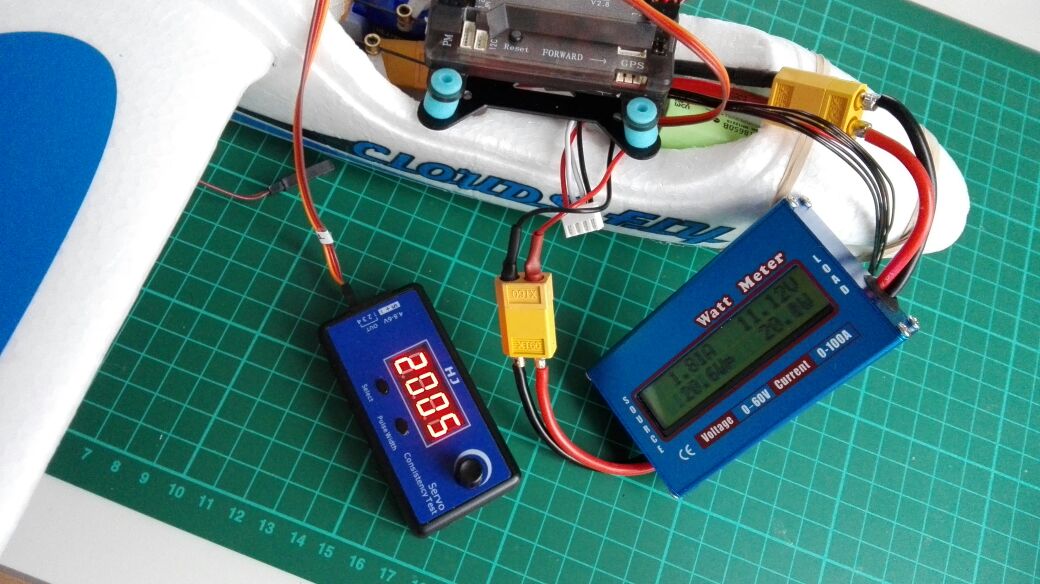
The difference in current draw isn’t huge (I = 2.1A for Lipo vs. 1.8A for Li-ion) so I’ll just use the Li-Ion pack I made.
I ordered the Seriously Pro F3 flight controller as a replacement for the bulky APM that I was previously using. I received that the next day (today) and spent a few solid hours going through the setup.
I had to solder the header pins in place and then start with the configuration of the board itself. The biggest time sink was getting the GPS unit to talk with the F3. I was using a Ublox NEO-6M (that was supposed to be supported by the F3) but it just wasn’t flashing blue like it should. I’ll try and wrap all those things up today and take it out for a test flight.
The only problem is that I lost the prop adapter collet that held the propeller in place after the crash — I ordered a replacement but that’s going to take a week to arrive. I’ll figure something out
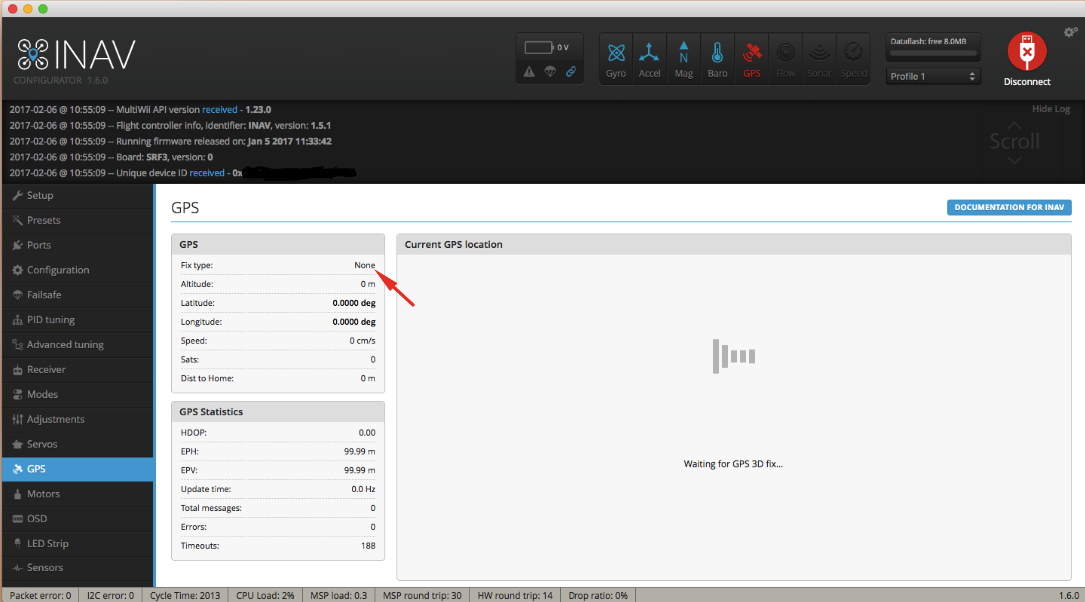
UPDATE: Spent the whole day trying to get the GPS to play nice with the autopilot and it did not work — which is strange since I was able to get it work for a brief minute before the whole thing just stopped working. Still, I won’t waste more time on getting it to work — I’ve ordered the newer Ublox NEO-8MN that they recommend and expect to get that in a few weeks. For now, I’ll just fall back to the APM for further testing.
I’ve put everything together again, and now we’re ready for the test flight:
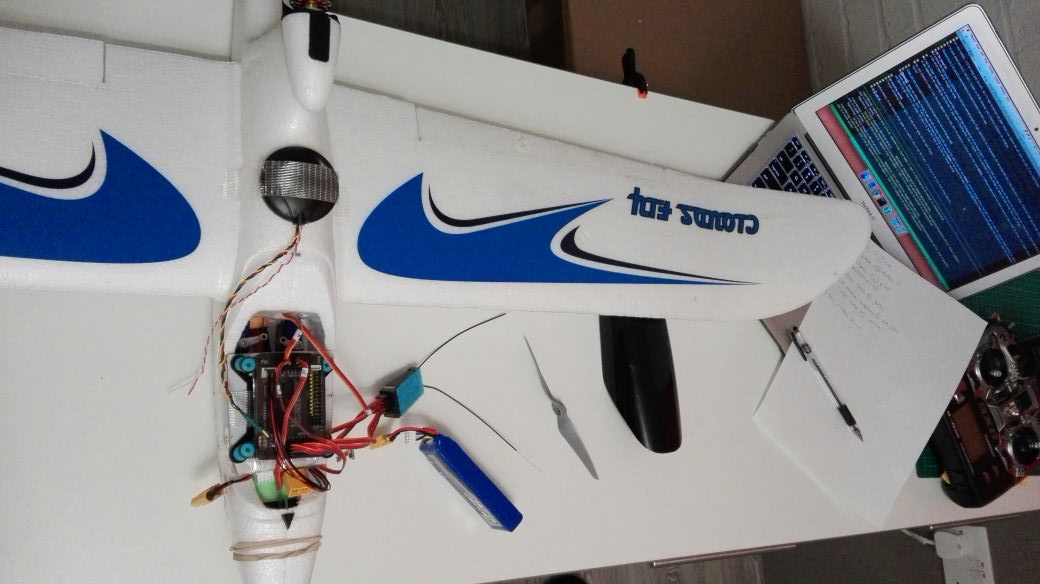
Unfortunately, it was insanely windy today (9th Feb) so I couldn’t take it out for a spin. I’ll plan to do that first thing tomorrow.
Today I went out to fly the plane.
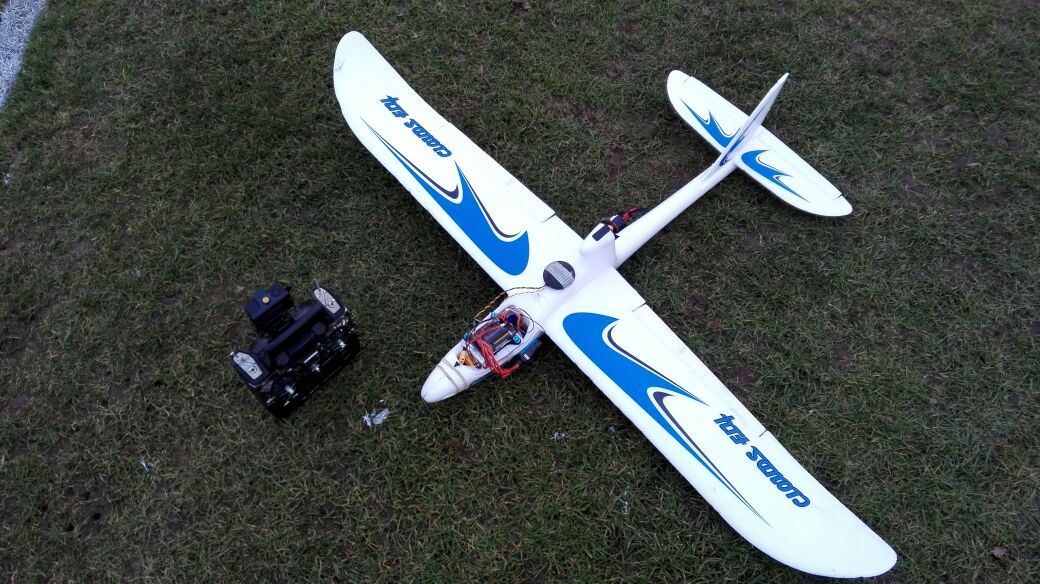
First attempt:
Lesson: The calibration of the ESC seems off — get it fixed, or replace the cheap ESC with a more reliable one.
Lesson: Have a pre-flight checklist which includes things like checking the Flight mode in addition to the other tests I now do informally (e.g. control surfaces, center of gravity, etc.)
Second attempt:
Lesson: Secure the battery pack in place
In the end, the plane was in no shape to be flown again with any meaningful outcome. The wings had become dislodged, the CoG was random at best (because of the shifting battery pack) and the nose was rather crumpled. I decided to go back, fix it and try again tomorrow.
Here’s what I’ll need to do ahead of the next flight: